Start your self-hosted blog in 60 minutes (Part 1)
A step by step guide to start your self-hosted blog in 45 minutes with zero cost on tools and hosting. The setup is based on Gatsby and Netlify and let's get started.

The first thing we gonna do is to have a website with following requirements
- No cost in hosting the site
- Quick to build e.g. with 30 minutes
- Headless CMS for blogging
To achieve the above requirements, below is the technical stack
- Netlify for hosting which include headless CMS for blogging support
- Gatsby framework base on gatsby-starter-netlify-cms template
Below is the step by step guide to bring up the site.
Step 1 - Setup the development environment
My development environment is Ubuntu 20.04. We need the following being installed in our development environment
- Please follow here to install nodejs and npm
- Install gatsby-cli by "sudo npm install -g gatsby-cli"
- Please follow here to access your GitHub account (Please create new account if necessary)
Step 2 - Checkout the template to GitHub
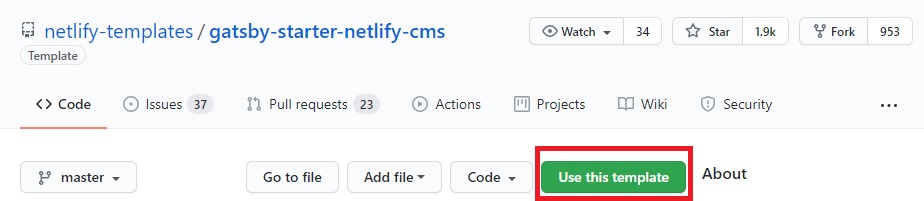
Login to your GitHub account (and create one if needed) and go to gatsby-starter-netlify-cms.
- Check "Use this template" to add the project to your repository
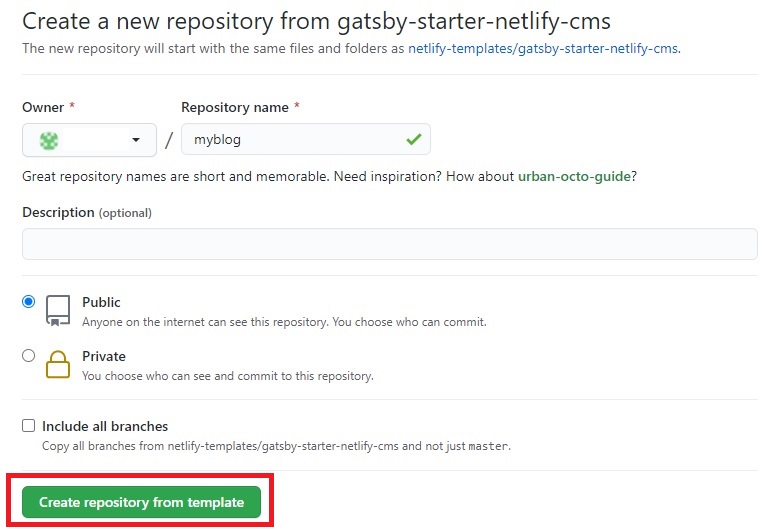
- Fill-in the "Repository name" and click "Create repository from template"
Step 3 - Checkout and build
To make sure the template work as expected. Checkout and build the template by
- git clone git@github.com:your_account/myblog.git
- cd myblog
- npm install
The build and start the website by "gatsby develop --host=0.0.0.0". Sadly, you will see this in your console.
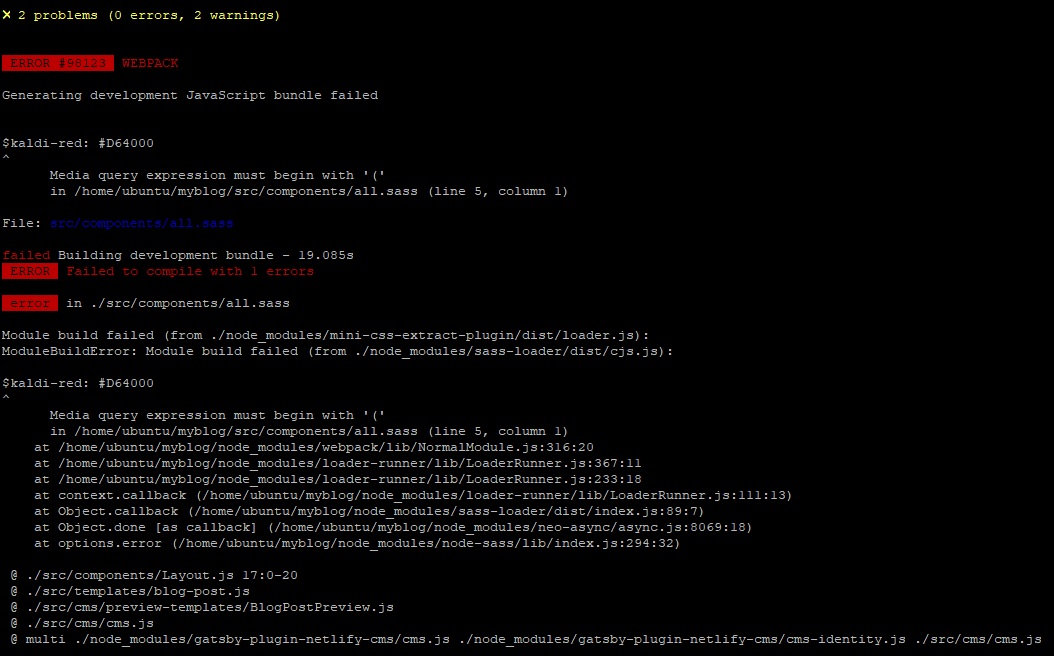
To fix this open gatsby-config.js and replace 'gatsby-plugin-sass' in below:
plugins: [
    'gatsby-plugin-react-helmet',
    'gatsby-plugin-sass',
    {
      // keep as first gatsby-source-filesystem plugin for gatsby image support
      resolve: 'gatsby-source-filesystem',
      options: {
        path: `${__dirname}/static/img`,
        name: 'uploads',
      },
    },
To this:
 plugins: [
    'gatsby-plugin-react-helmet',
    {
      resolve: 'gatsby-plugin-sass',
      options: {
        indentedSyntax: true
      }
    },
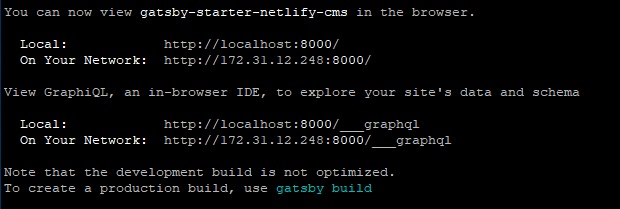
Run "gatsby develop --host=0.0.0.0" now you should see the site up and running at port 8000
Finally, check in the fix and we are ready to host it to Netlify.
Step 4 - Host your site to Netlify
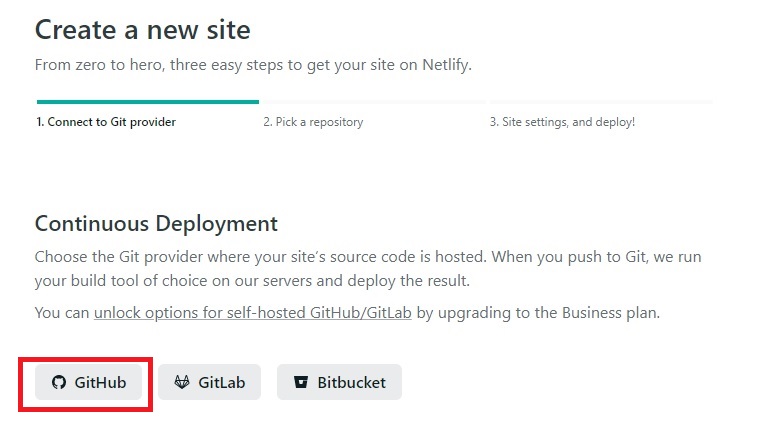
Login Netlify with your GitHub account. On the Team overview page below; click "New site from Git" to create a new site as below. Select GitHub
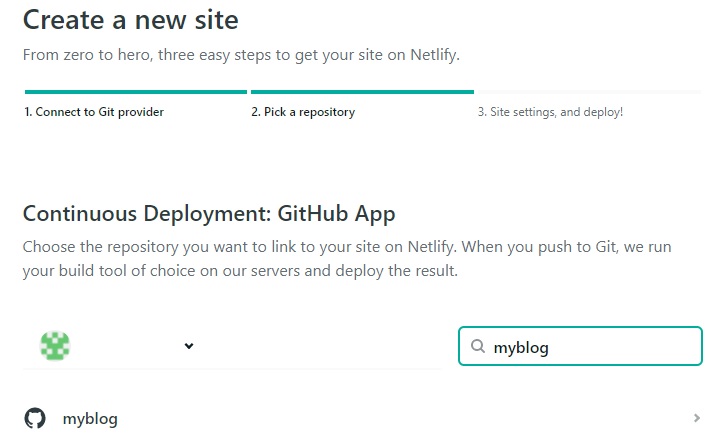
Pick the newly created repository in GitHub to continue; in my case that is myblog. Click "Deploy site" and Netify will start building and deploying your site. From now on, as far as you have new commit to this project on GitHub; Netify will automatically trigger a new build and deploy base on your latest code.
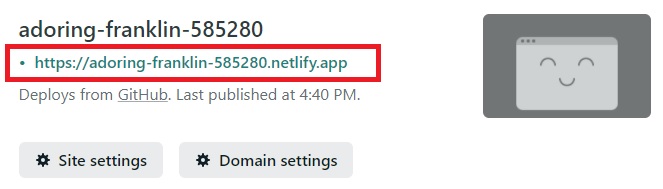
After a while you will see your new project been deployed on Netlify CDN e.g. the site can be accessed at https://adoring-franklin-585280.netlify.app
Summary
In this article, we go through the steps to bring up a gatsby template with CMS support on Netlify. It's quick, nearly no code so far (except a bug fix on config file) and most important "it's free". In the next article, we are going to talk about how to setup Netlify-CMS to manage the blog e.g. create, modify articles like what I am doing right now.
Thanks for reading. Please send me an email at povalab@gmail.com for any comment.